
Login to your Google cloud console account.
Make sure to select the project from the top horizontal menu bar to which you wish to generate auth 2. 
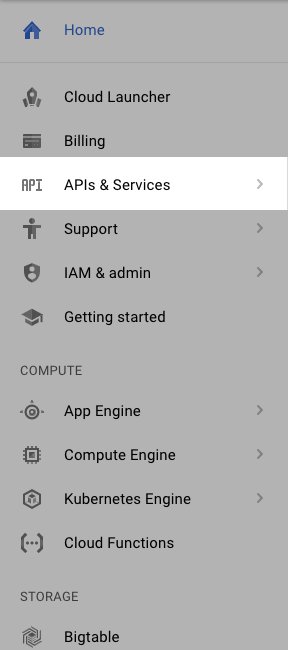
Click “API’s & Services” available from the left vertical menu options in the dashboard.
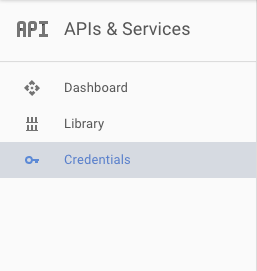
Click “Credentials” from the left vertical menu options in the API’s & SERVICES section.
Click “OAuth consent screen” from the three tab available under the credentials section.

The information provided here will be displayed to users who are opting in to sign in using google. Fill the respective details in accordance to your business.
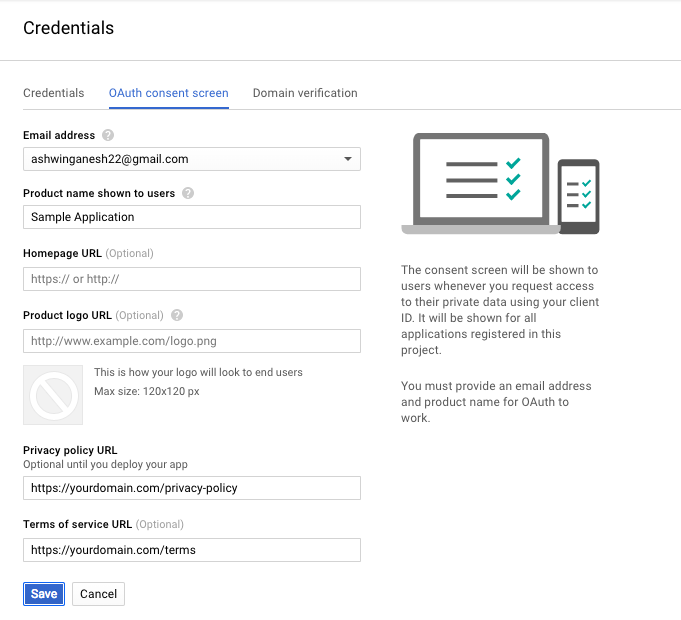
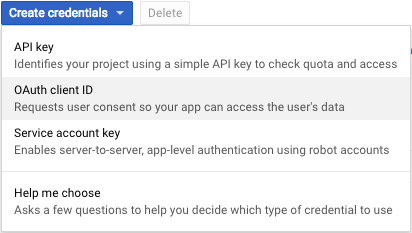
Click “Save” which will take you to the “Credentials” tab. Click “Create Credentials”.

Out of three options, Click “OAuth client ID”.
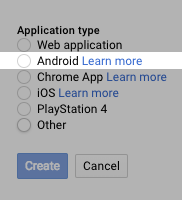
Click “Android” radio button.
Provide any reference name for you to easily identify the key generated. Skip the command specified in the Signing-certificate fingerprint and follow the instructions below:
If the Android application is in developmental mode and
If you are using Android Studio in Windows :
Copy the below code and run it in your command prompt. Replace path-to-debug with the path to where the android studio is installed in your windows.
keytool -list -v -keystore path-to-debug\.android\debug.keystore" -alias androiddebugkey -storepass android -keypass android
After running the command in the command prompt, you will get different keys like in the image below.

Copy the SHA1 key and paste it into the “Signing-certificate fingerprint” box.
If you are using Android Studio in Mac :
Copy the below code and run it in your terminal.
keytool -list -v -keystore ~/.android/debug.keystore -alias androiddebugkey -storepass android -keypass android
If the Android application is in release mode
Copy the below code and run it in your command prompt (Windows) or terminal (Mac). For Keystore name and alias name, you need to provide the same of what you did in this article.
keytool -list -v -keystore {keystore_path} -alias {alias_name}
Enter your package name here and click “Create”.
A dialog box will appear with the generated key. Click “OK”.
Well Done. You've done this part successfully.