Login to your Google Firebase console
Click “Add project” under recent projects.

Select the existing project available in the Google cloud to add it to the Firebase. Click “Add Firebase” button.

After navigating to the project dashboard, click “Add Firebase to your Android App”. 
Before filling in all the details remember we need to add two applications to this project since we have a user and a provider application.
For the user application:
Step 1: Enter package name of the user application. You can opt out to enter the other details. Click “Register App”.
Step 2: Download the .json file.
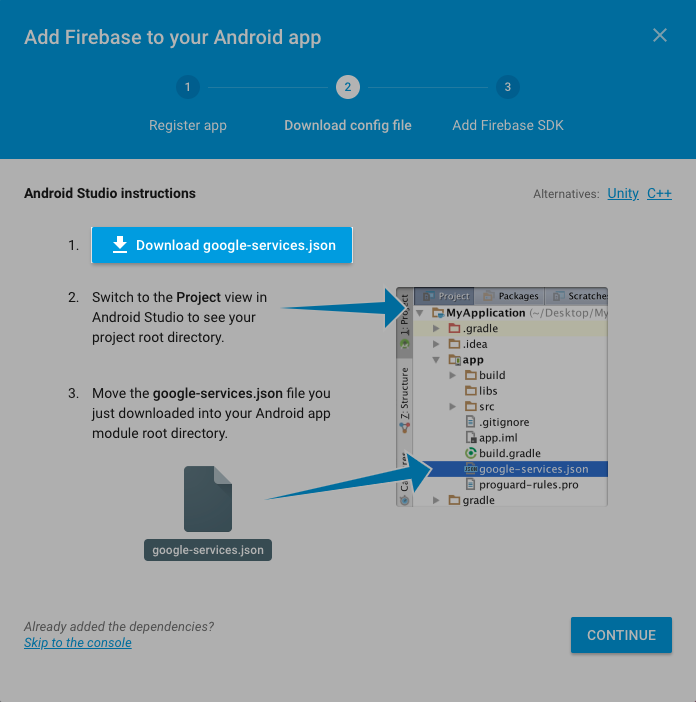
Open the user application source code in the Android studio and switch to “Project” view.
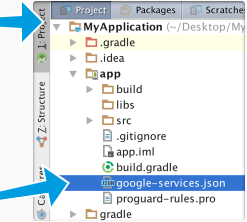
Copy and paste the downloaded .JSON file below build.gradle file.
Head back to the firebase console.
Click “Continue” to complete the Step in the dialog box and then “Finish” in the final step.
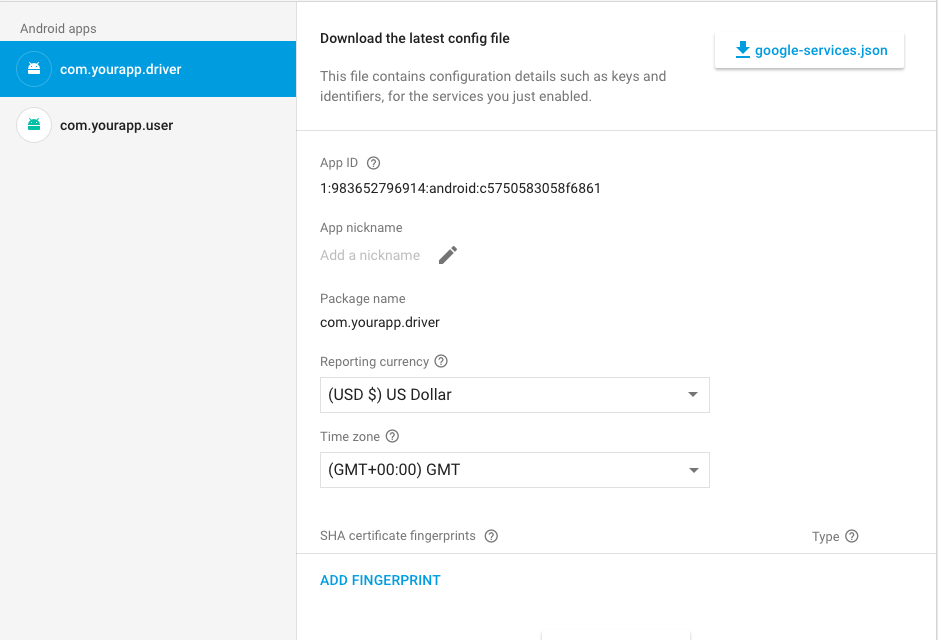
The added user application will appear on the next screen similar to the image below. 
For the driver application :
Click “Add App” button available above the added user application. 
Click “Add Firebase to your Android App”.
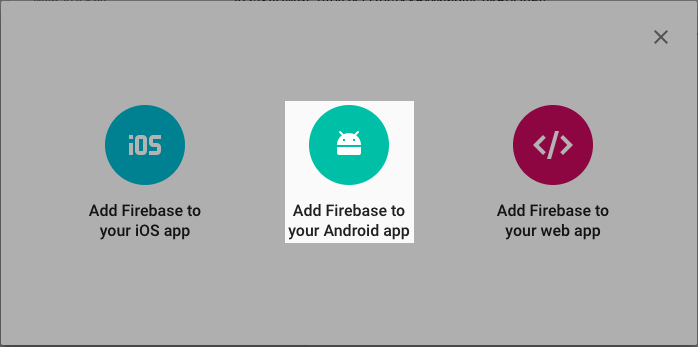
Step1:Enter the package name of the provider application where you can opt out to enter the other details. Click “Register App”.
Step 2: Download the .json file.
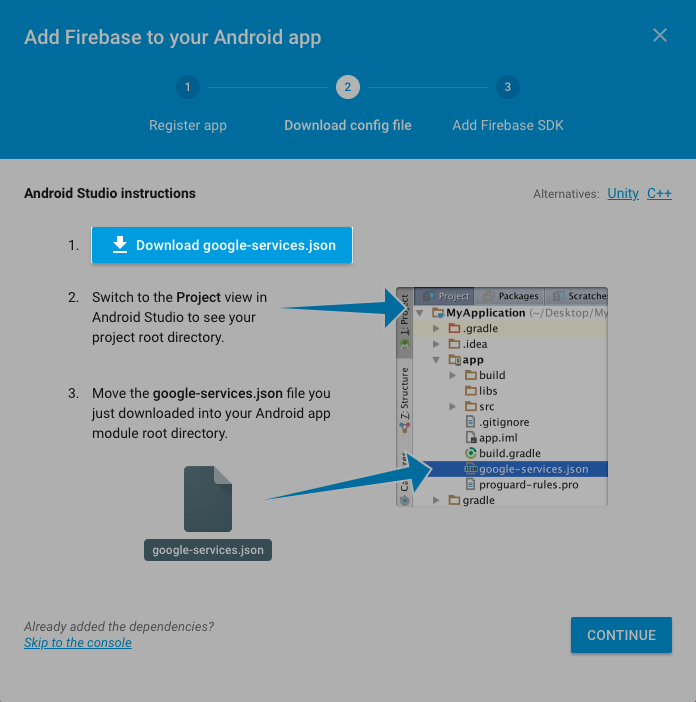
Open the driver application source code in the Android studio and switch to “Project” view.
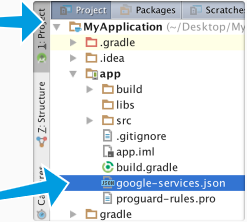
Copy and paste the downloaded .JSON file below build.gradle file.
Head back to the firebase console.
Click “Continue” to complete the Step in the dialog box and then “Finish” in the final step.
The added driver application will also appear above the added user app in the next screen similar to the image below.
To find the server key:
Select “Cloud Messaging” from the horizontal menu options available under the settings tab.
Make sure to identify the server key which will be used for push notification.

